
We're so glad you're here! 🥰 If you have any questions along the way, please connect with us at anytime at [email protected] and check out the video below by our friends at nounish:
Create and Backup your Rainbow Wallet:
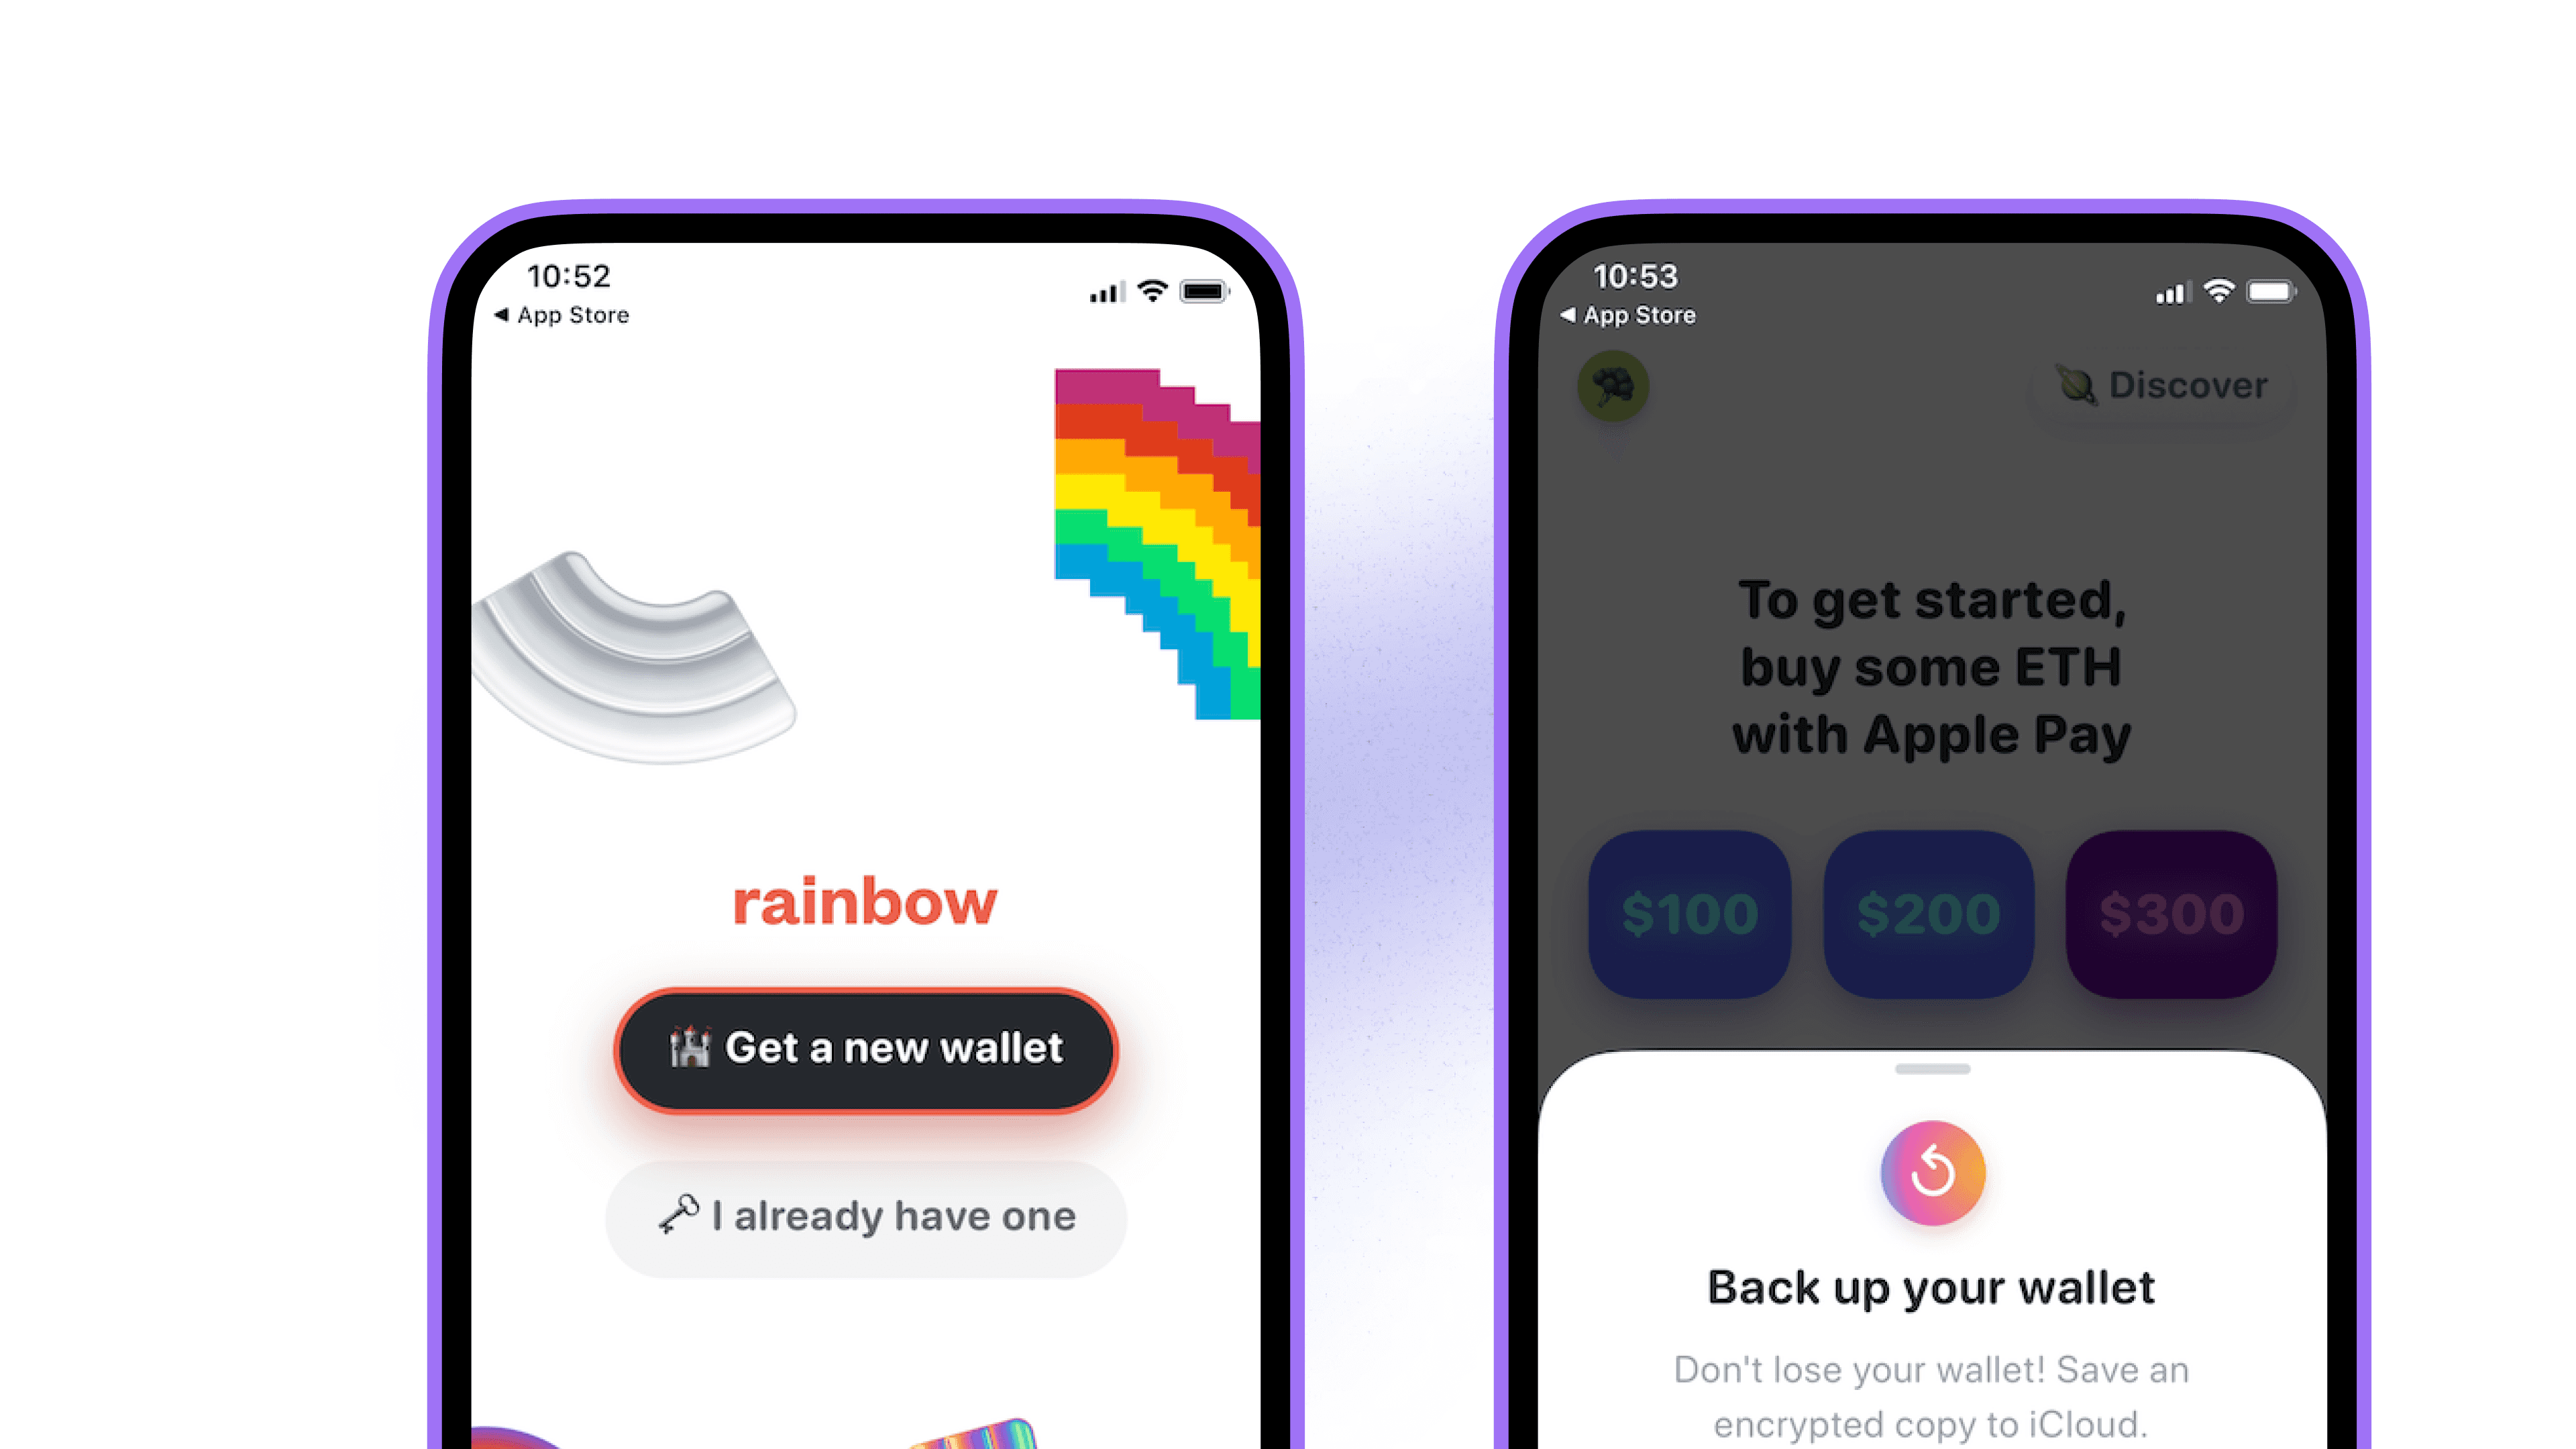
Once you have the Rainbow app installed on your device, iOS/Android, open it up and tap the "Get a new wallet" button to begin. You now have your first Ethereum wallet, but you need to back it up so you don't lose it:
Tap "Get a new wallet" to begin.
Choose your backup method. In this example, we’re on an iOS device.
🗣️ We at Rainbow don't have access to your wallet, and we can't control it. Your wallet is 100% yours, and the keys to it have been generated cryptographically on your device for your eyes only. It is created using an open standard that is portable and used across the Web3 ecosystem. If you decided Rainbow wasn't for you, then you could easily leave and take your wallet to another app. 🤝
The Importance of Backing Up:
A wallet is permanent, and it's not like a login account to a traditional website like Facebook or Google. If you don't back up your wallet, then there is no way to recover it. Thankfully, backing up your wallet is super simple:
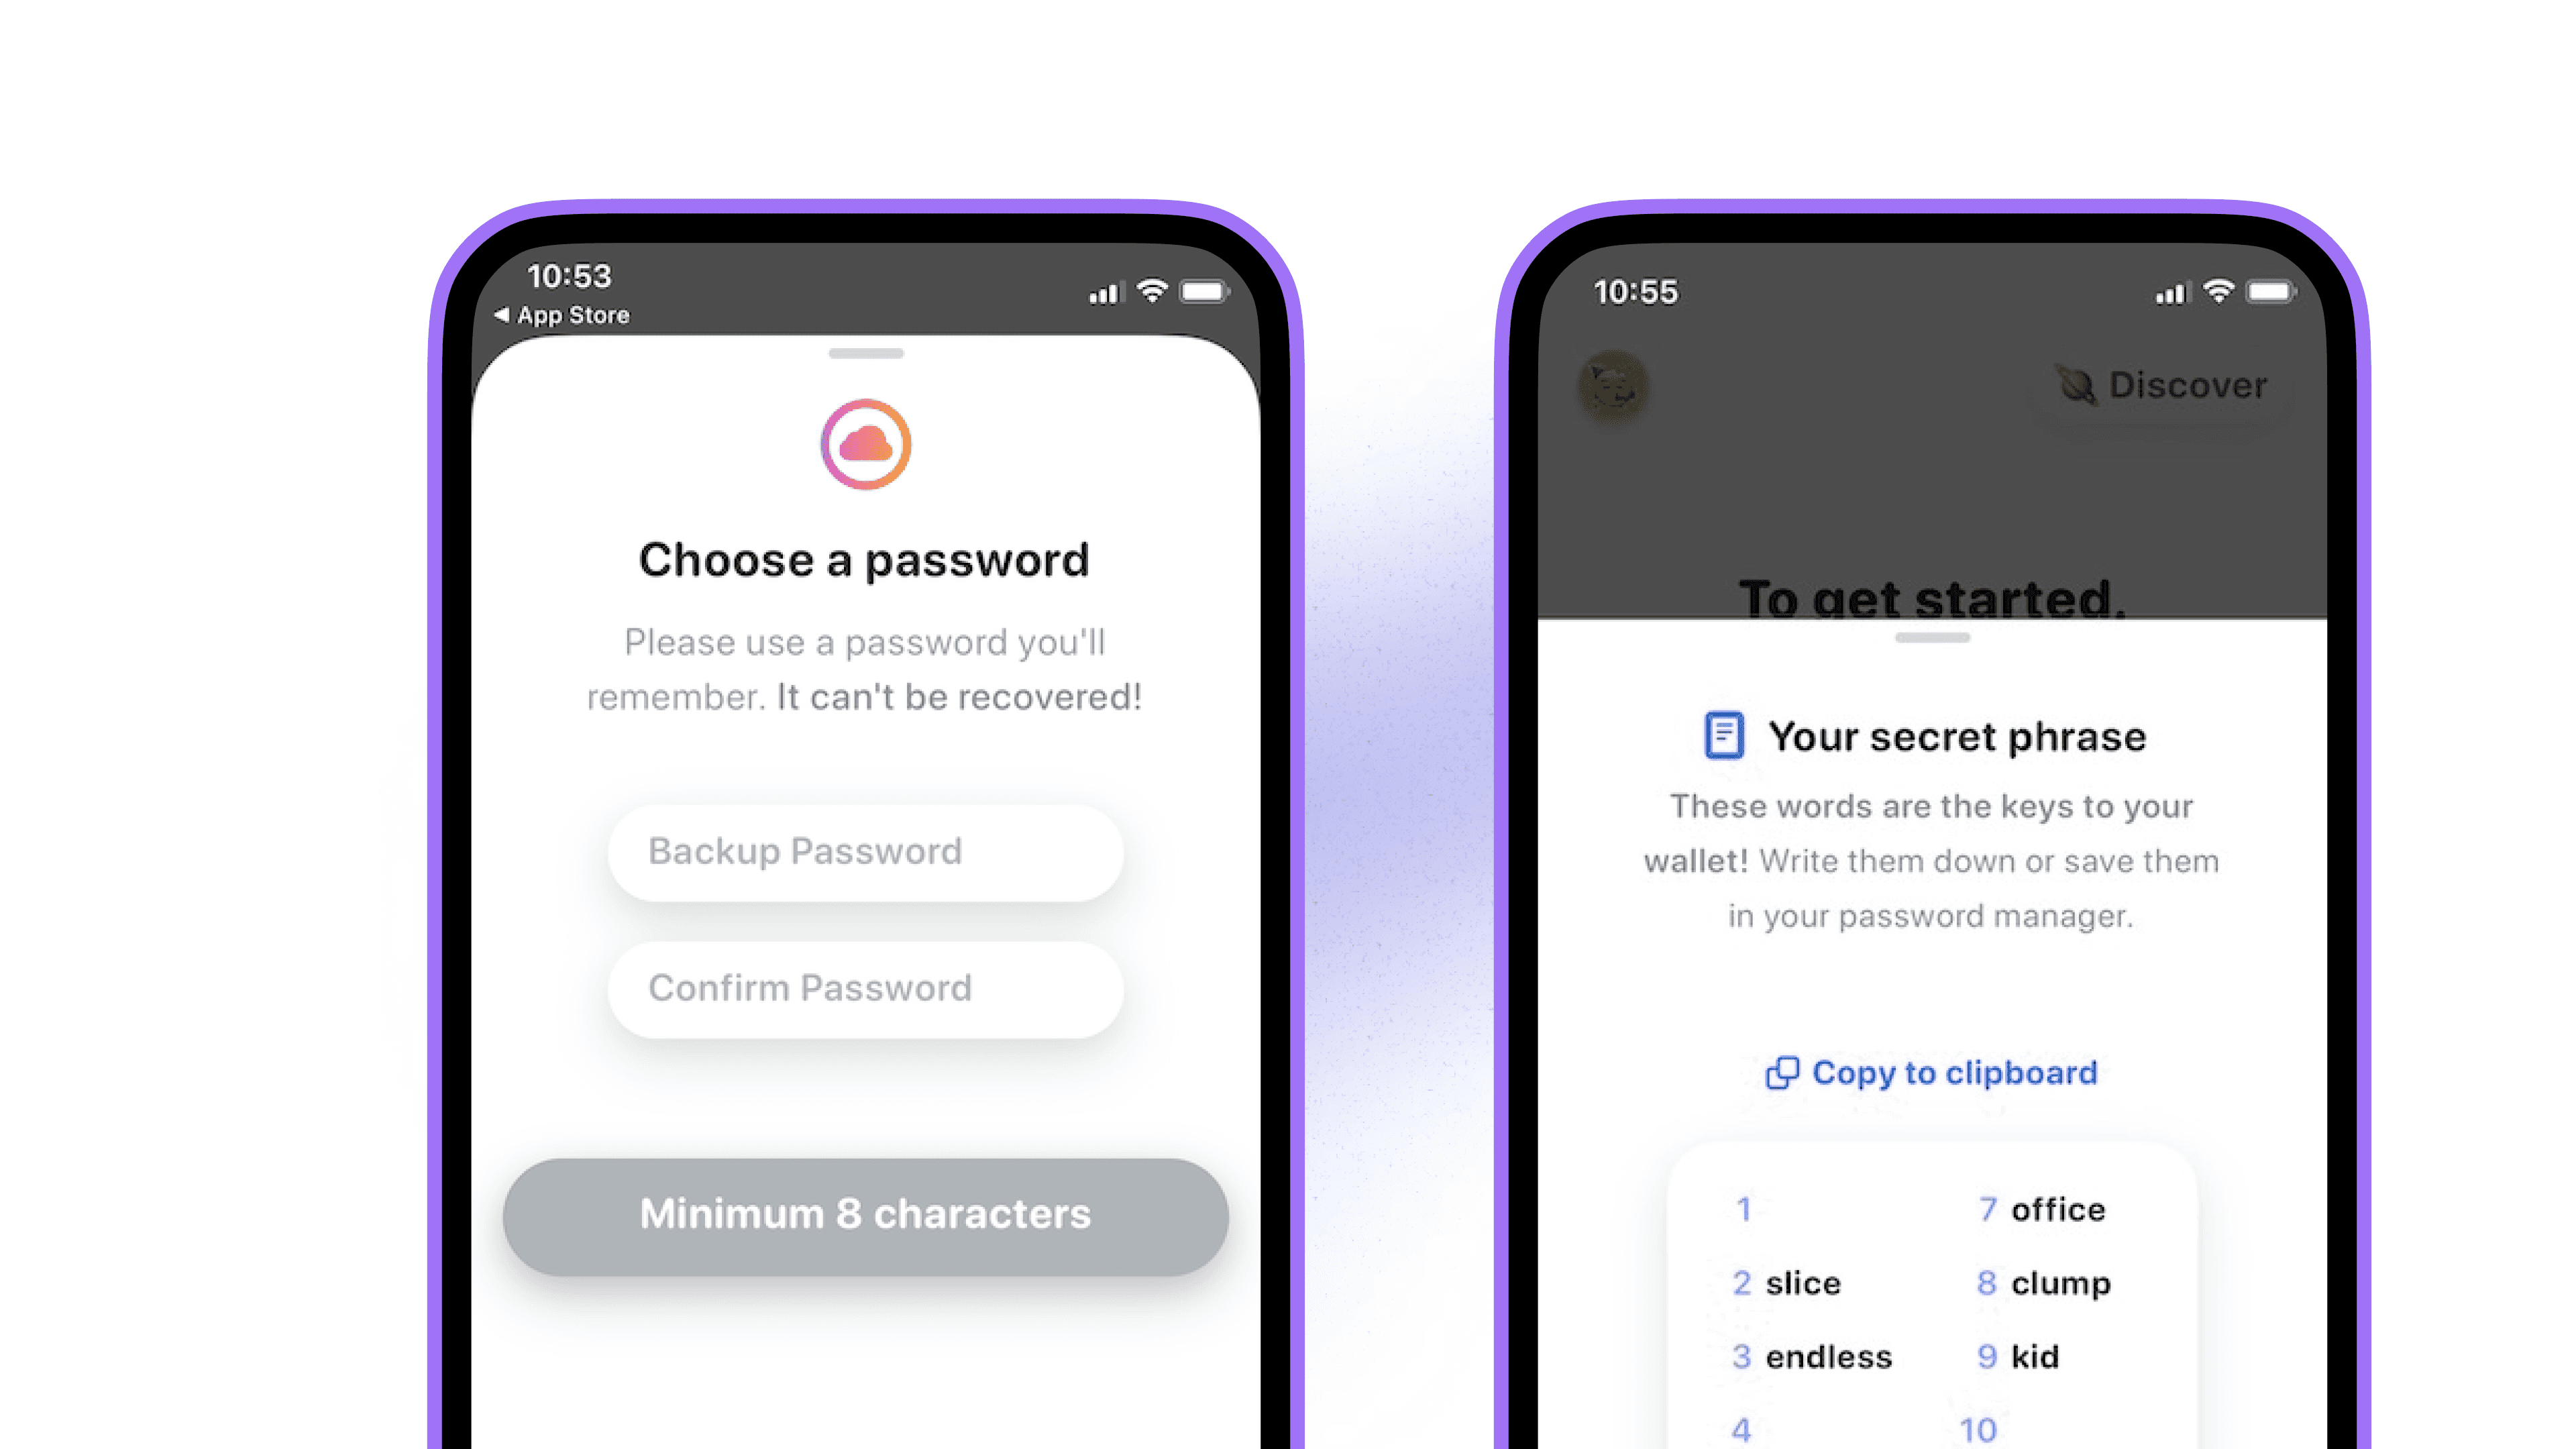
In Rainbow, you can instantly backup your wallet using our Backup feature (shown in the first screenshot below).
If you prefer to back it up manually on a piece of paper or other physical object, then you have that option too! Just make sure your secret phrase is secure in a separate location.
Either way, you can always change your mind later and edit your backup within the app's settings.
How to acquire Ether (ETH):
Ether (ETH) is the native currency of the Ethereum ecosystem, kind of like how the US Dollar is the native currency of the United States. ETH is the most popular cryptocurrency used on the internet, and it's how you'll pay for goods and services in the new world of Web3.
To complete a transaction using your wallet, you'll pay a fluctuating transaction fee (often called a gas fee) which must be paid using ETH. If you don't have any ETH in your wallet, you won't be able to transact. These fees support the people who are responsible for validating transactions on the public decentralized ledger known as the Ethereum Blockchain.
📌 Blockchain transaction fees are not controlled or received by Rainbow, and they always have to be paid in ETH.
Option 1: Buy ETH directly within the Rainbow app:
You can purchase ETH directly in the app by clicking the Buy button on your main wallet screen:
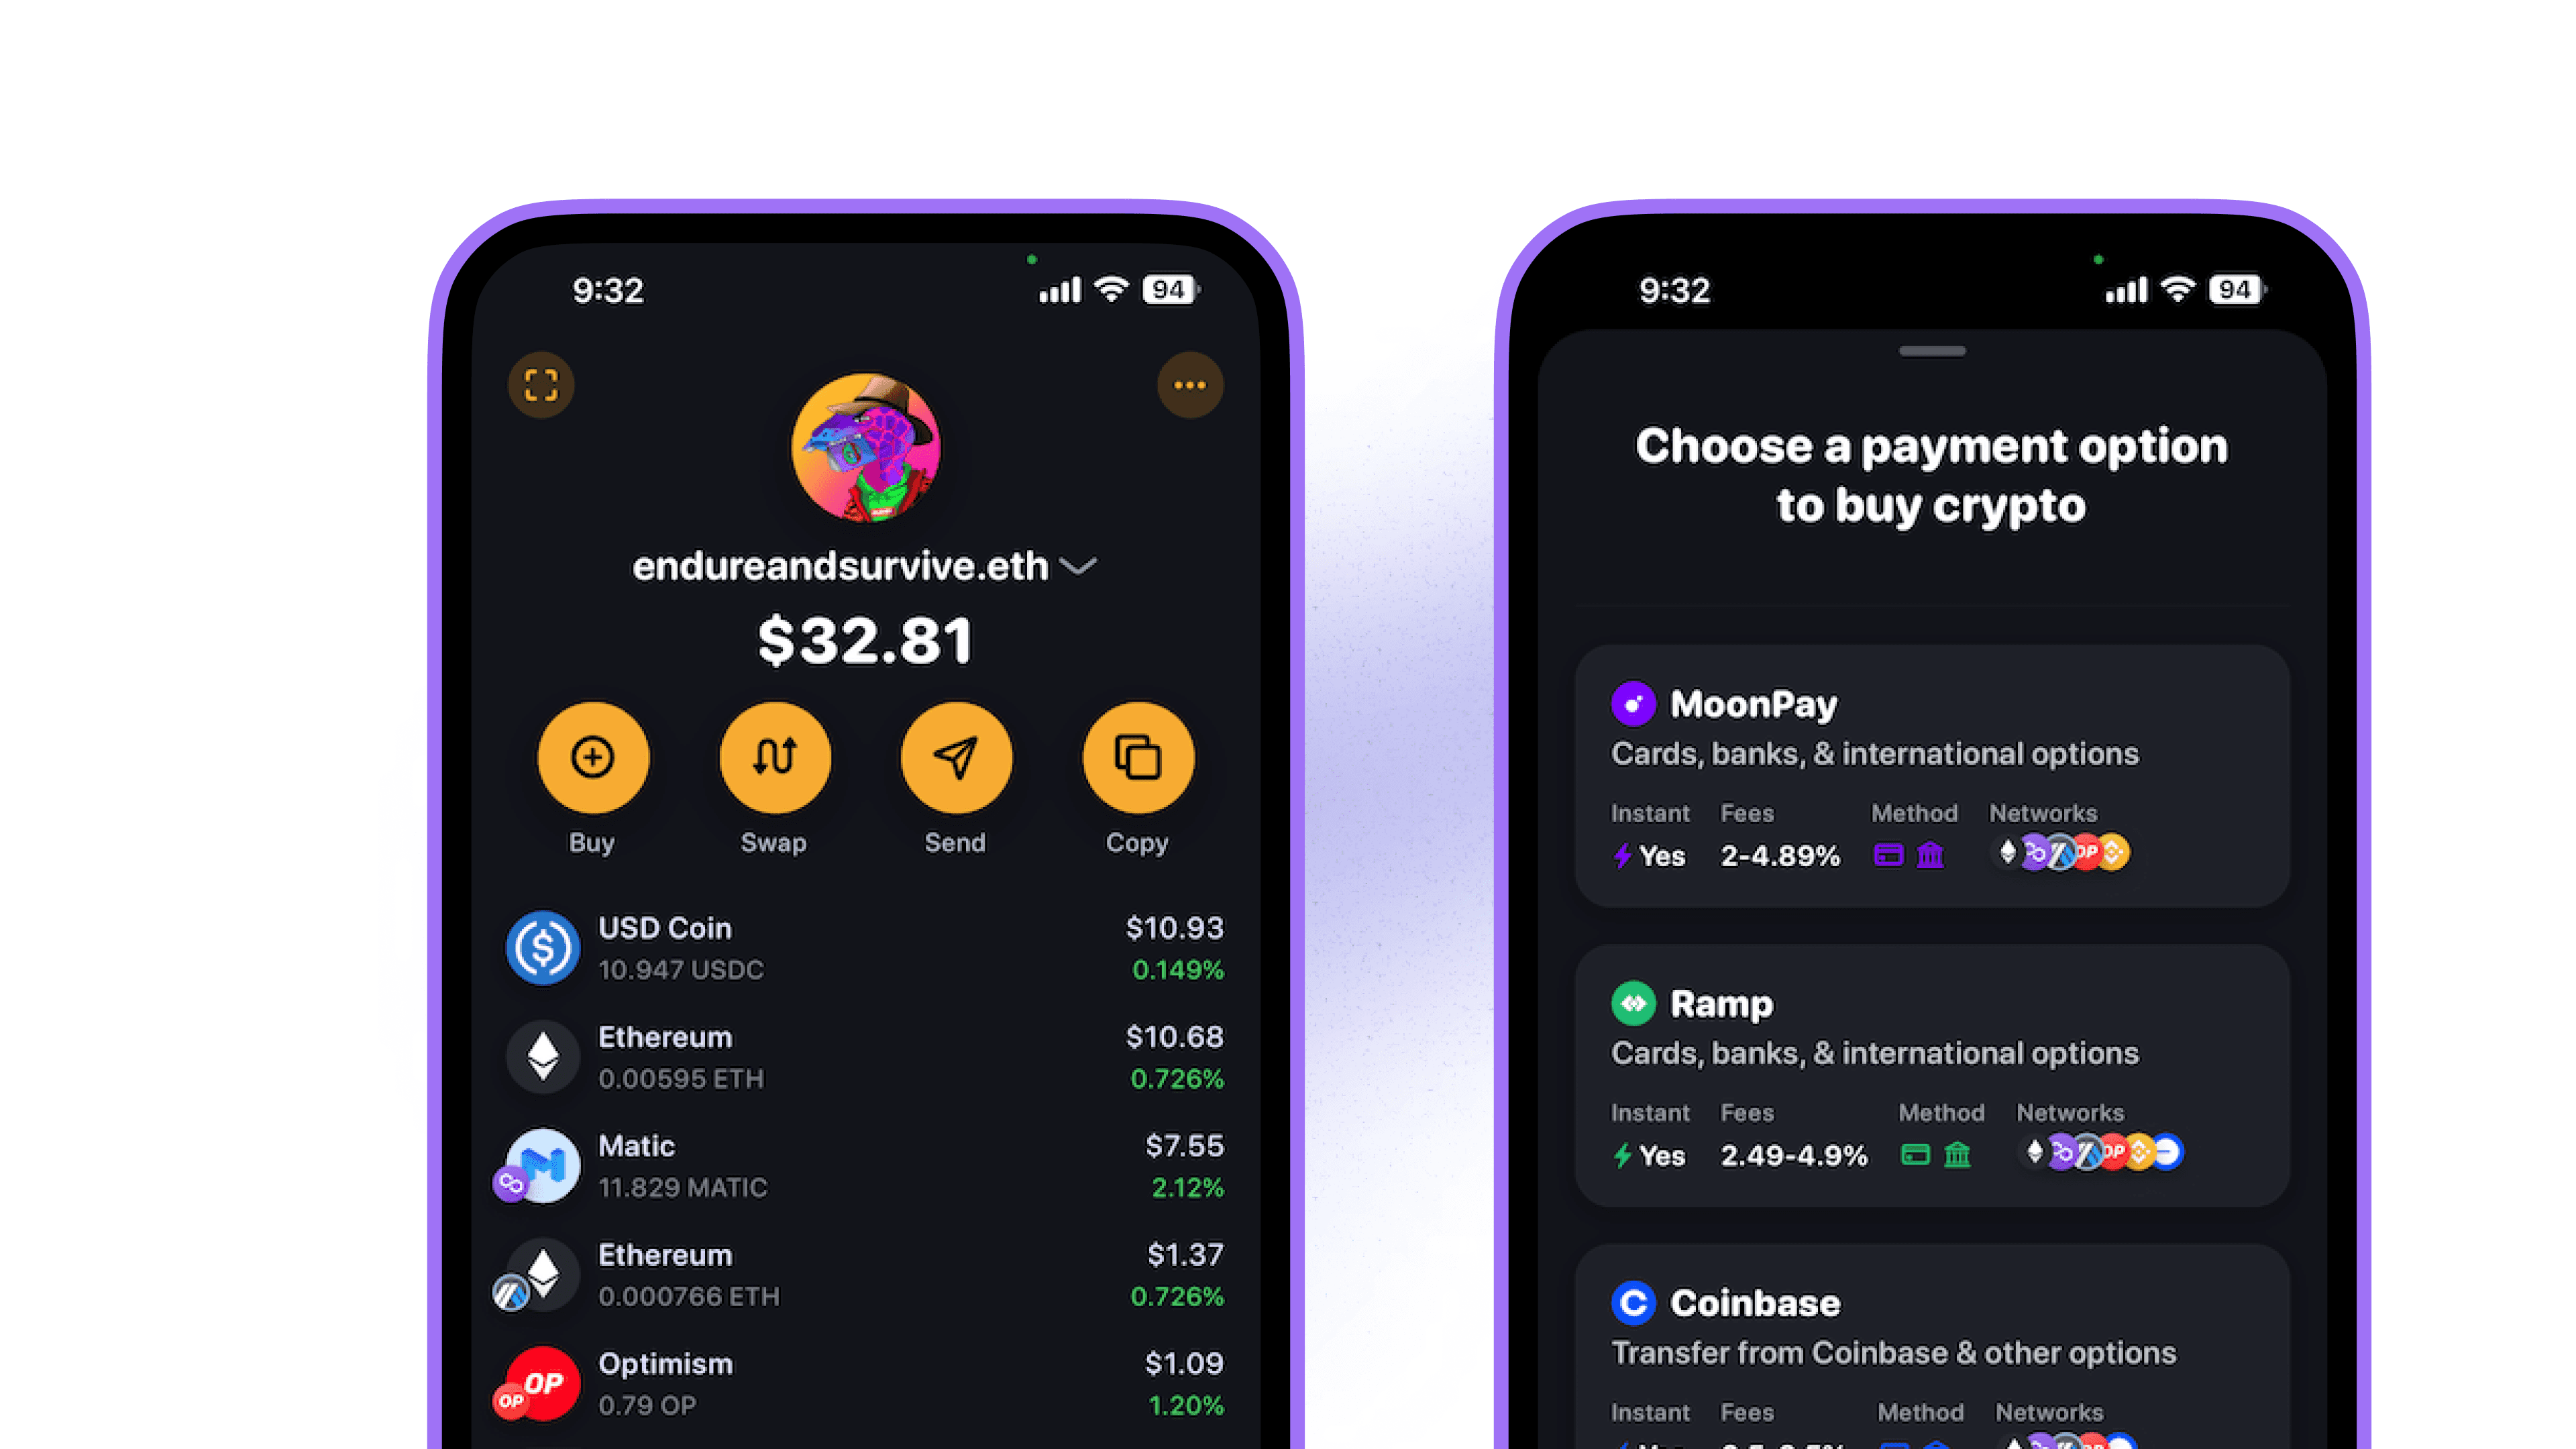
Option 2: Buy ETH on an exchange and send it to your wallet:
Buying ETH from a crypto exchange can often have fewer limitations, but it also requires more account setup and approval. As an example, check out how to buy ETH from Coinbase via their Help Centers:
After successfully acquiring ETH on an exchange, you can then send it to your wallet by copying your wallet's public address:
Tap the "Copy" button to get your wallet's public address.
Paste this address into your crypto exchange's send flow.

📌 Rainbow only supports ETH and Ethereum-based assets. Do not send other types of cryptocurrencies or assets to your wallet.
Option 3: Have a friend send you some ETH:
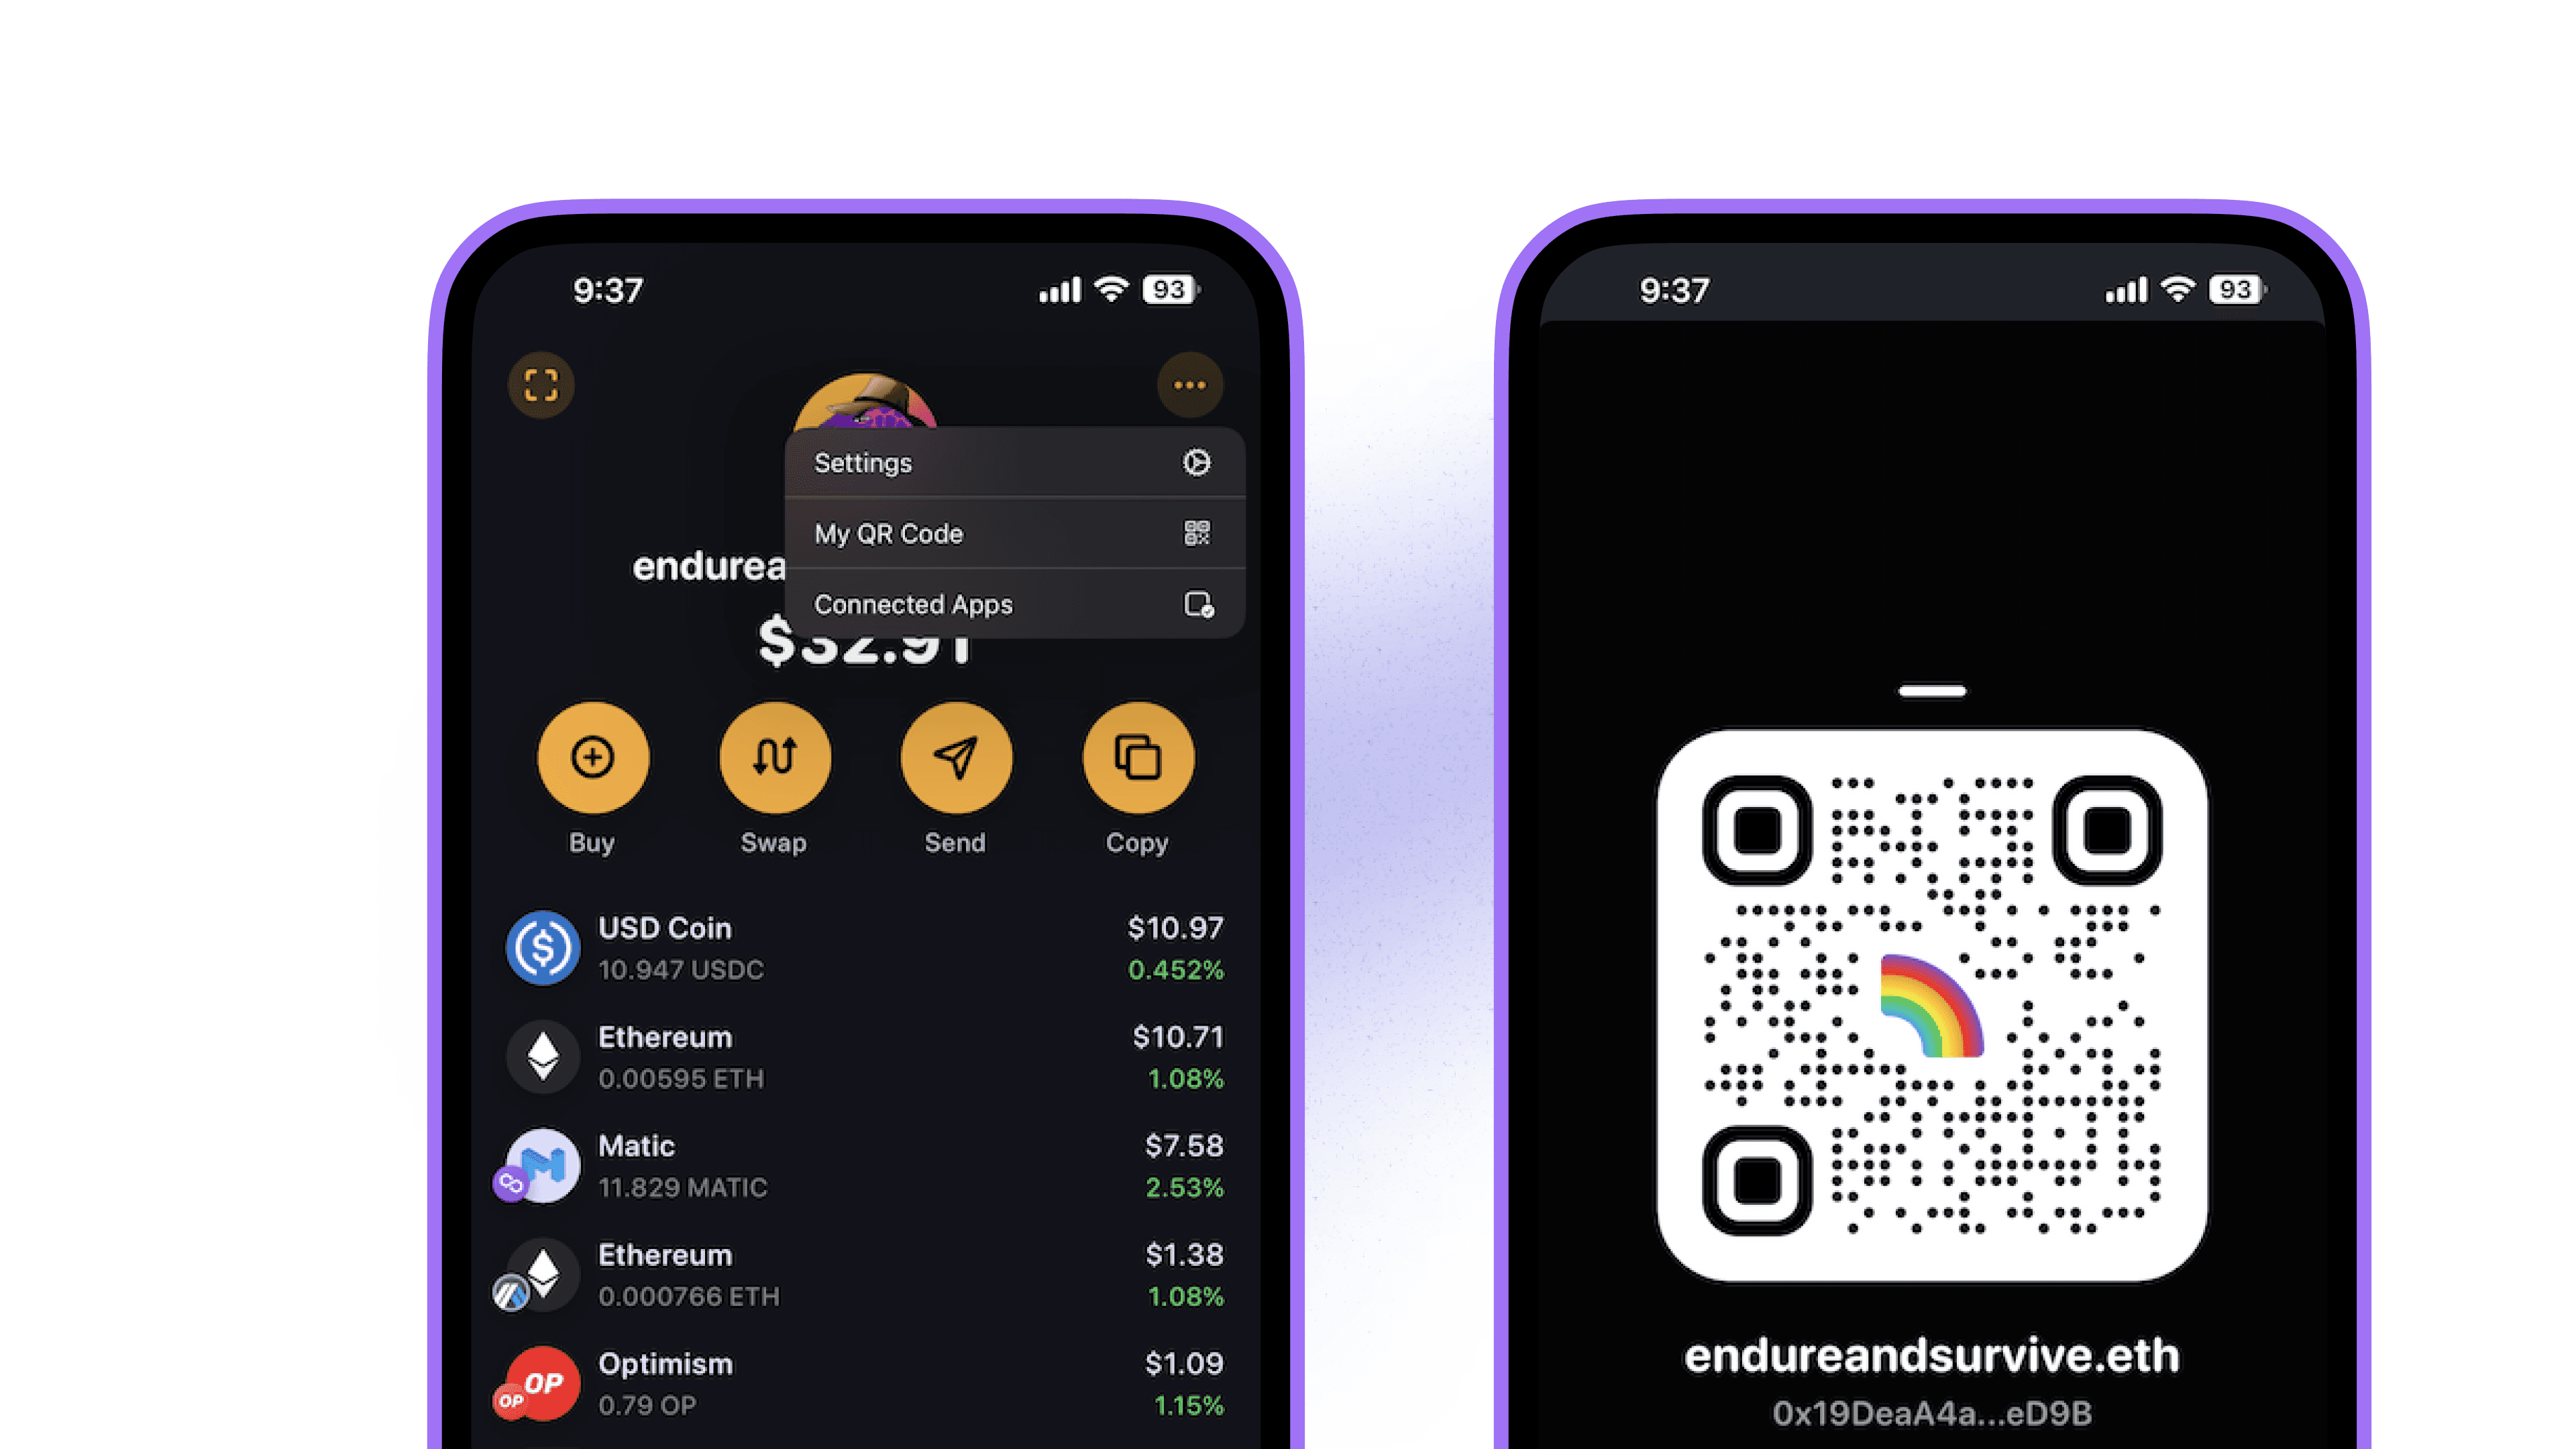
If you have a friend who is willing to give you some ETH, then you can send them your public wallet address or let them scan your Rainbow QR code.
Click on the 3 dots in the upper right hand corner on your main screen.
Tap on the "My QR Code” button.
Have your friend scan your Rainbow QR code or tap the "Share" button to send your public address via a message.
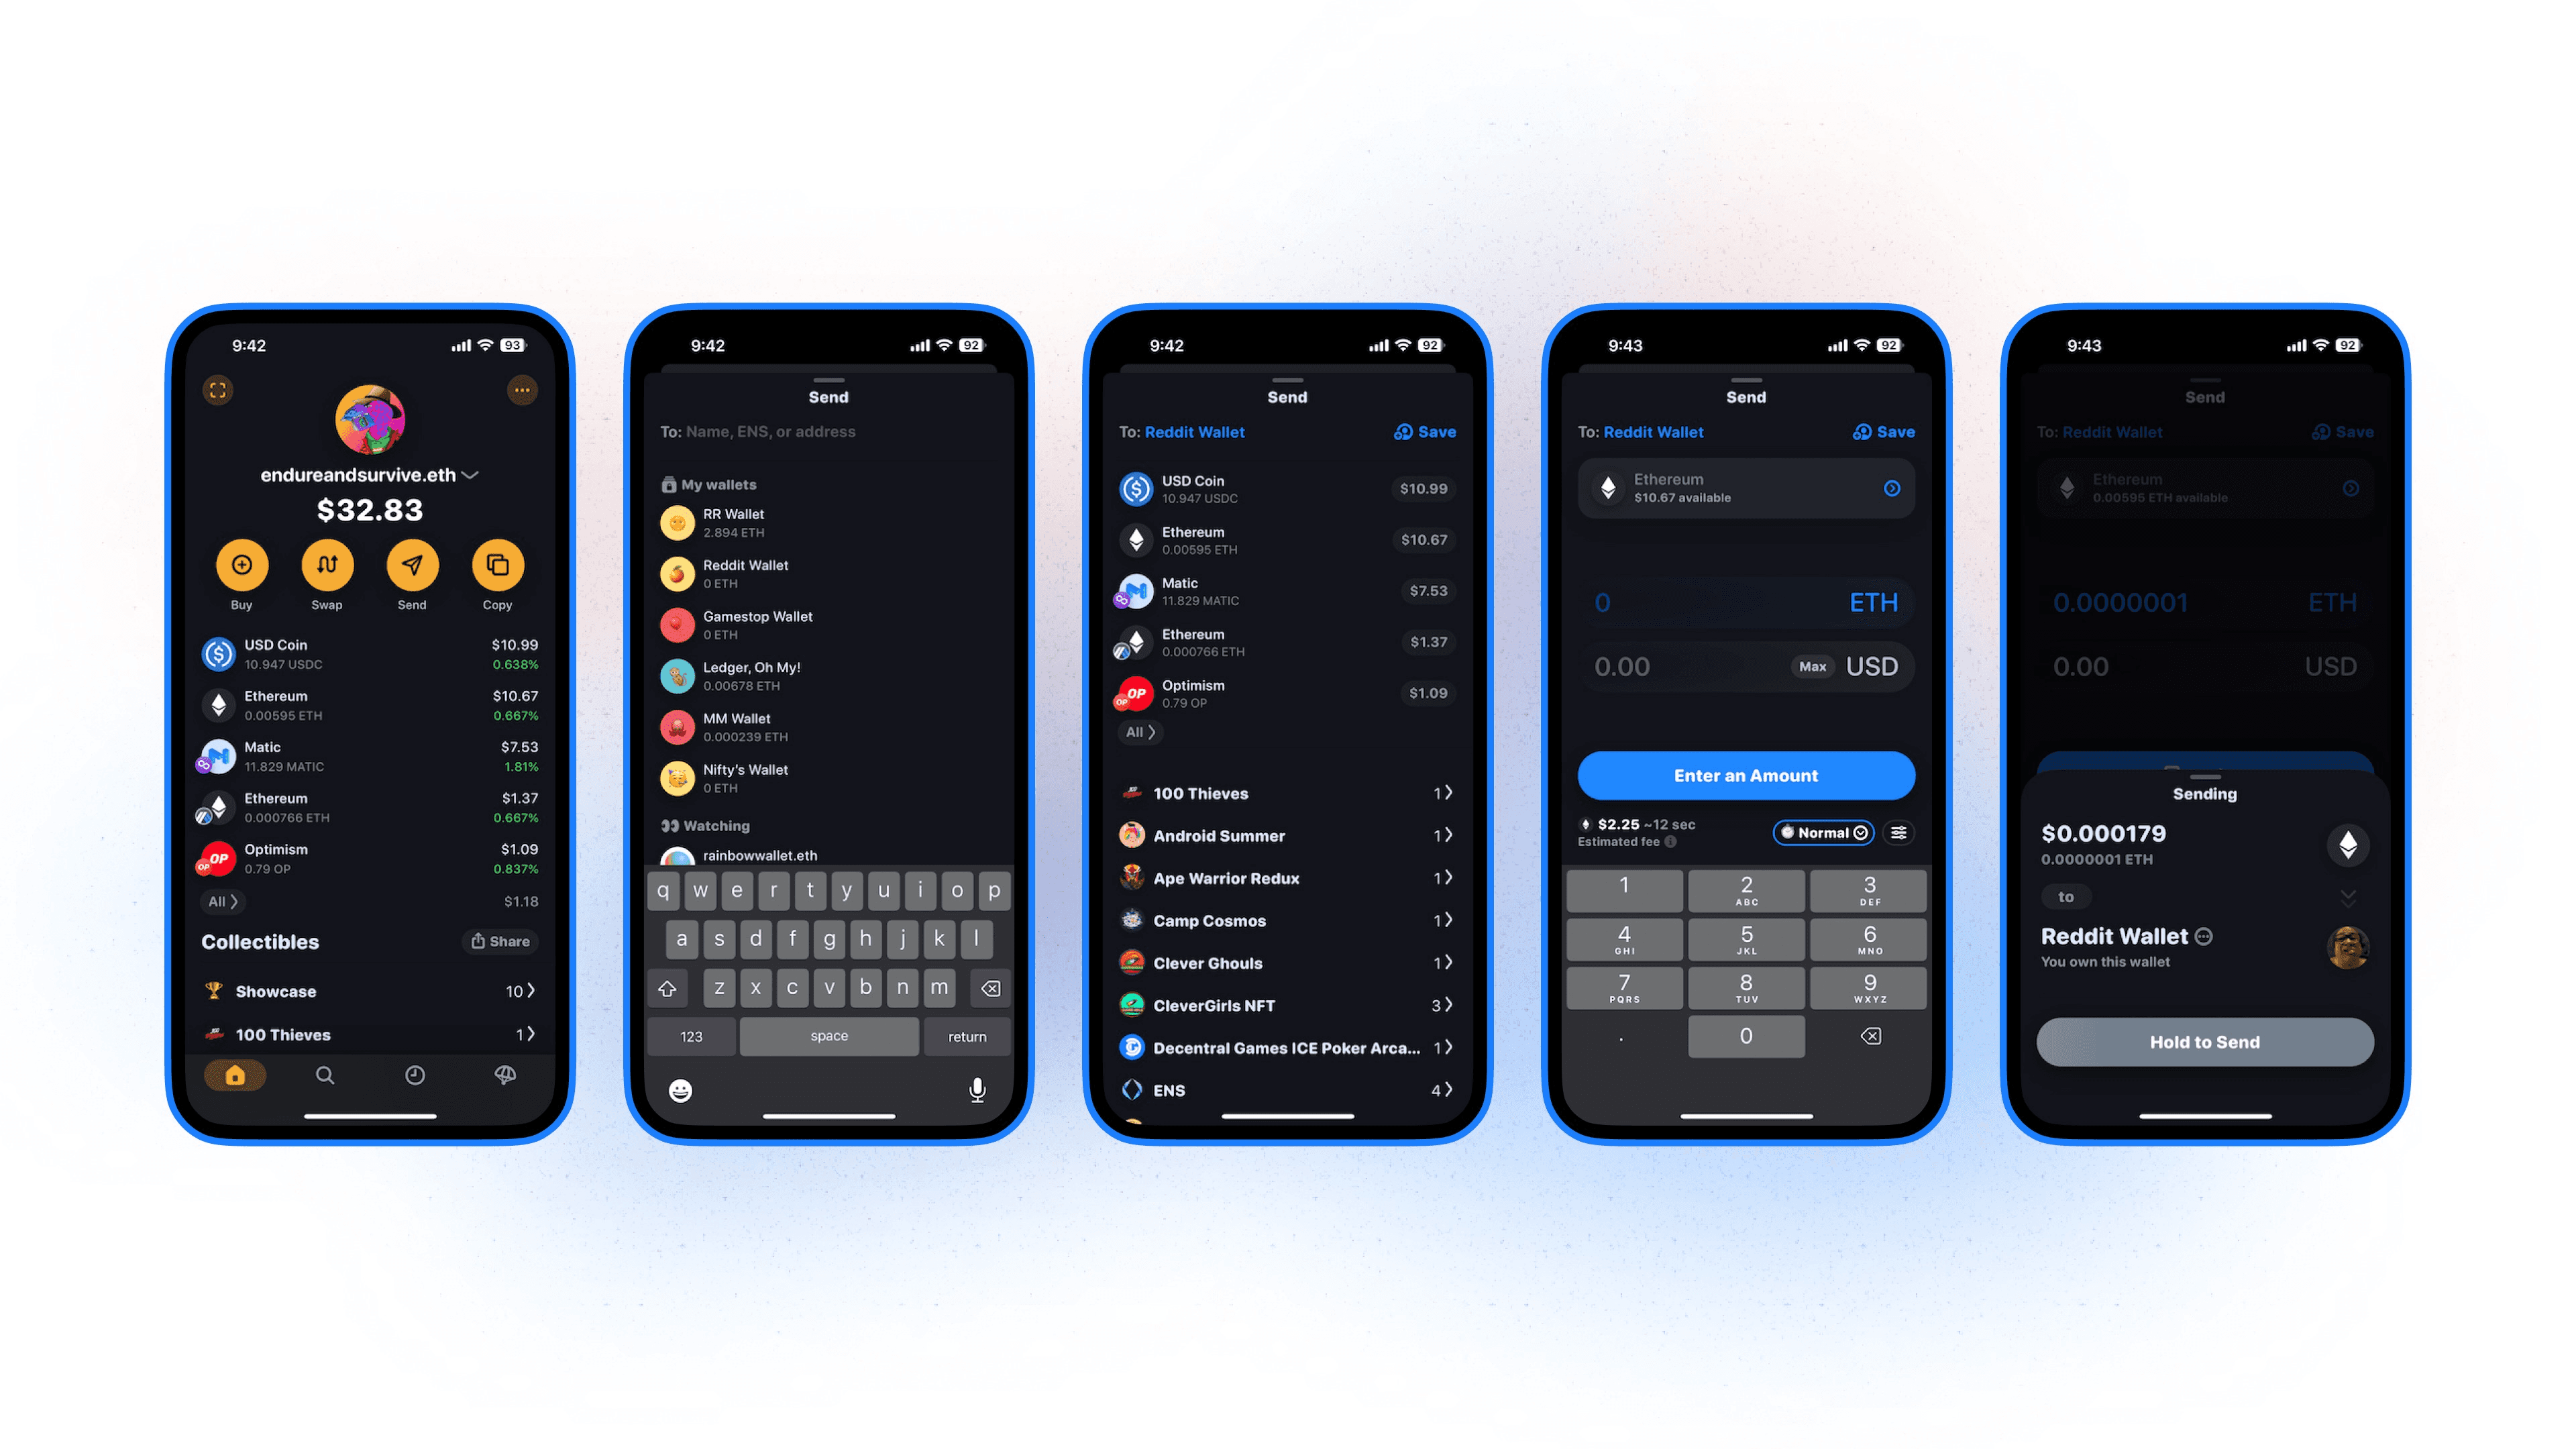
Send assets out of Rainbow:
Now that you have your wallet created, backed up, and some ETH — you can at any time send your assets to another wallet, an exchange, or to a friend. Here’s how you do it on both Android and iOS devices:
From the main screen, tap on the send button.
Paste a public wallet address or choose from your list of saved contacts or imported wallets.
Tap on the asset you want to send from the list that appears.
Enter the amount you want to send.
Review the transaction summary to make sure everything is correct, then press and hold on the "Hold to Send" button to confirm the transaction.
⚠️ Only send assets to wallet addresses that you know can receive them. When sending assets to a crypto exchange like Coinbase, follow the instructions they provide carefully or else your assets might get lost.
📌 Transactions on the blockchain are permanent. Once a transaction has confirmed, there is no way to reverse or undo it.